Mattel Disney Pixar Diecast CARS: Build Your Own Speedway Shelf Tutorial
Now that’s you’ve mastered making your own CAR customs, painting bedrooms and crafting together a scrapbook … why not build your Motor Speedway shelf in your sparetime … Jason (Camlgt) did so you can too! Well, he was nice enough to share his 12 steps with us.
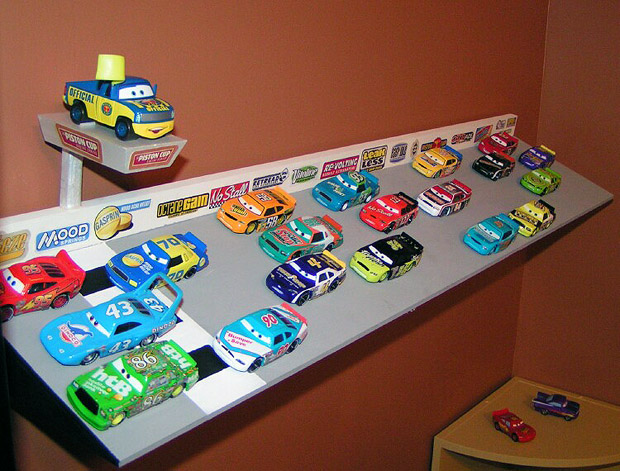
Sweet! This us what your final product will look like. Yea, I think I could slap this together … of course, after I take down my load bearing wall and hiring 5 subcontractors …
1. Gather your supplies: I used common old poplar craft board that you can get at Lowes/Home Depot 1 piece of each 6″x 1/4″x 4′ , 2″x 1/4″x 4′ , 3″ x 1″x 8′ , 1/2″x 1/2″ square dowel and 2″x 1/2″ x 3′. Also you need a very small dowel or balsa wood. Then you need some paint, the Pedal to the Metal sticker book, some small nails, and a bottle of crazy glue gel.
Okay, I’m out. Well, it wasn’t a total loss – I did have a nice hot dog at the stand in front of Lowe’s.
2. Using the 3″x 1″ piece cut 3 angles with a flat section on the end for the wall with the advertisements. The angle I used is around 25 degrees over 7.5″ with a half inch flat section.
3. Cut the 2 1/4″ pieces to 3′ in length and attach them on top of the 3 angles from step 2 using small nails. You should have 1 angle at each end and 1 in the middle. The 2 pieces should abut each other.
I’m not sure how it happened but at this point in the project, I fell off the roof.
4. Attach the 1/2″ board onto the flat section using small nails by tacking it at an angle.
You lost me at attach …
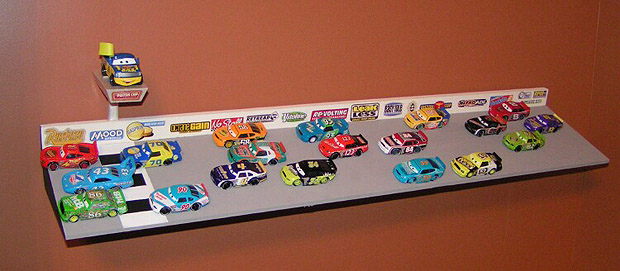
5. Using a scrap piece from the 1″ board cut it with a mitre saw so you get an angled effect on the bottom for Dexter Hoover’s stand. Also with the 1/2″ x 1/2″ piece cut a 2″ piece for the post.
Ha, ha, he said mitre.
6. Glue the 2 pieces from step 5 together.
So I should not have 5 pieces of wood glues to my forearms at this point?
7. Now paint the whole assembly including Dexters stand. You will probably need multiple coats. And use painters tape to make the finish line.

8. Attach Dexters stand using crazy glue to the top of the wall.
Okay, this I can do … well, if someone will build the stand and the shelf for me.
9. Decorate with stickers from the Pedal to the Metal book. I had to crazy glue the stickers to it in addition to trimming the stickers.
This step I can probably do without setting fire to the house …
10. Cut the tiny dowels into 1/4″ or so pieces and crazy glue them in a way that will hold the wheels of the car. I used 3 pieces for each car 1 for the inside of the front passenger side tire and 2 in an L shape for the rear passenger tire. Dont forget Dexters stand you can use just 2 pieces for him. Also you can paint the dowel ahead of time to match the track. (Before beginning this step if you plan on putting all 36 racers on there you may want to lay it out using 36 cars to make sure they all fit which they will or you can just make the whole thing longer if you would like.
I believe this is where I would start over on step one …
11. Drill 2 small holes into the bottom edge of the wall and use tiny hooks to hang with the hook going into the holes.
Why drill a small hole when you can drill several dozen LARGE holes? Oh BTW, do not read my comments as it’as not really germaine or helpful …
12. ADD CARS AND ENJOY!!!!
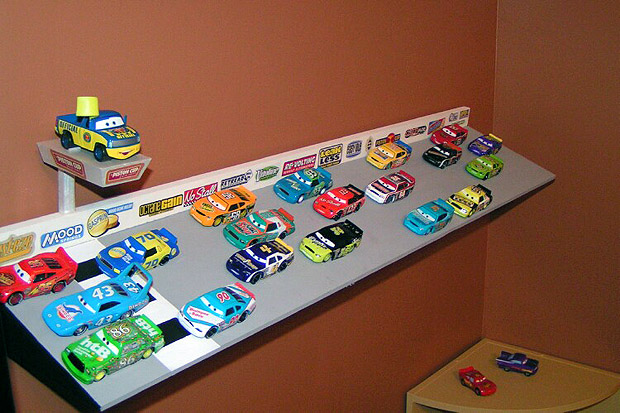
Looks fantastic!
Too bad we know no one who works with wood and wood be able to whip this out in pirate’s time …
Too nice, Jason and thanks for giving us the heads up on how to do it! It sure sounds easy when you say it! 🙂
| « Mattel Disney Pixar Diecast CARS: Now Launching, Pit Race Off & Lightyear Launchers … | Mattel Disney Pixar Diecast CARS: And the Next Toys R Us Promo CAR is … » |
